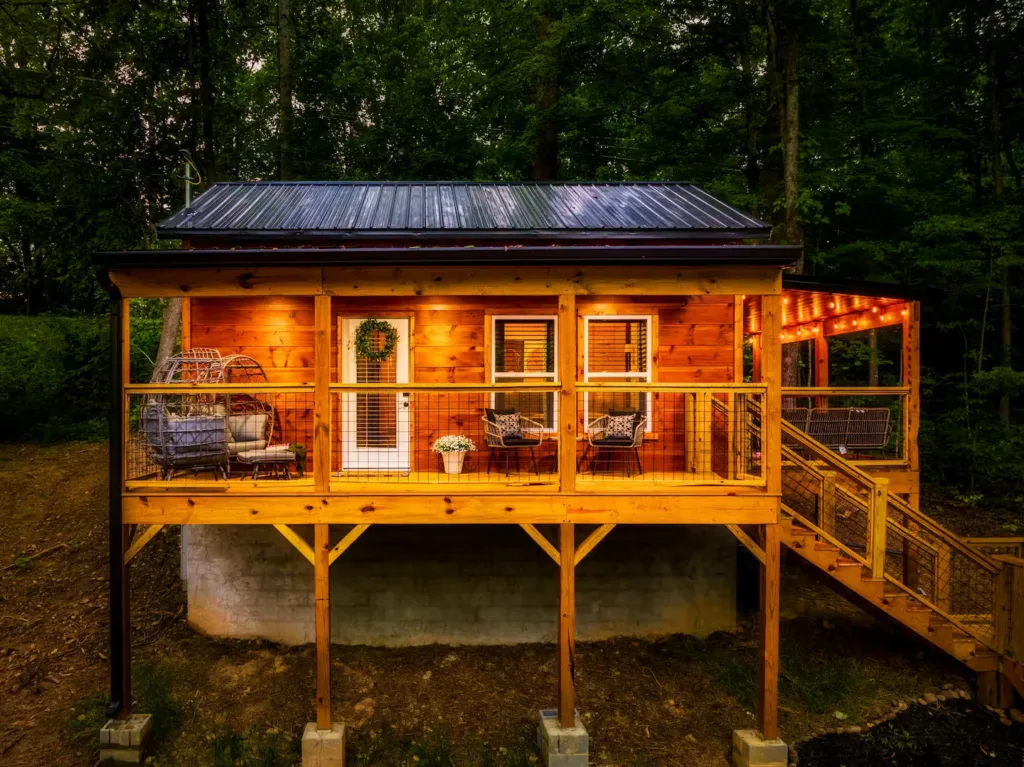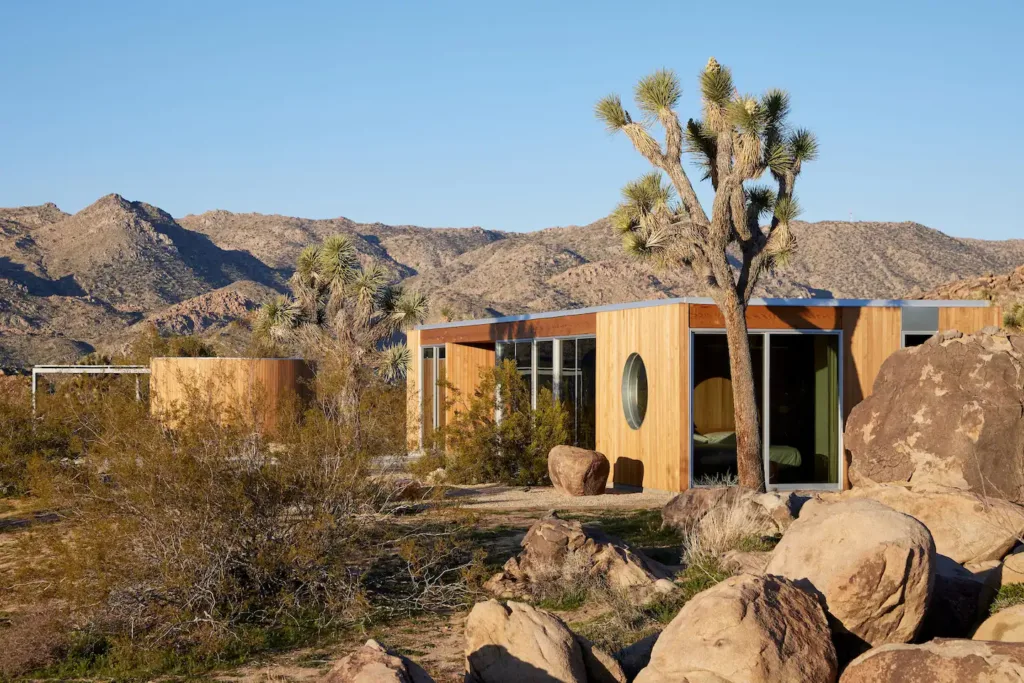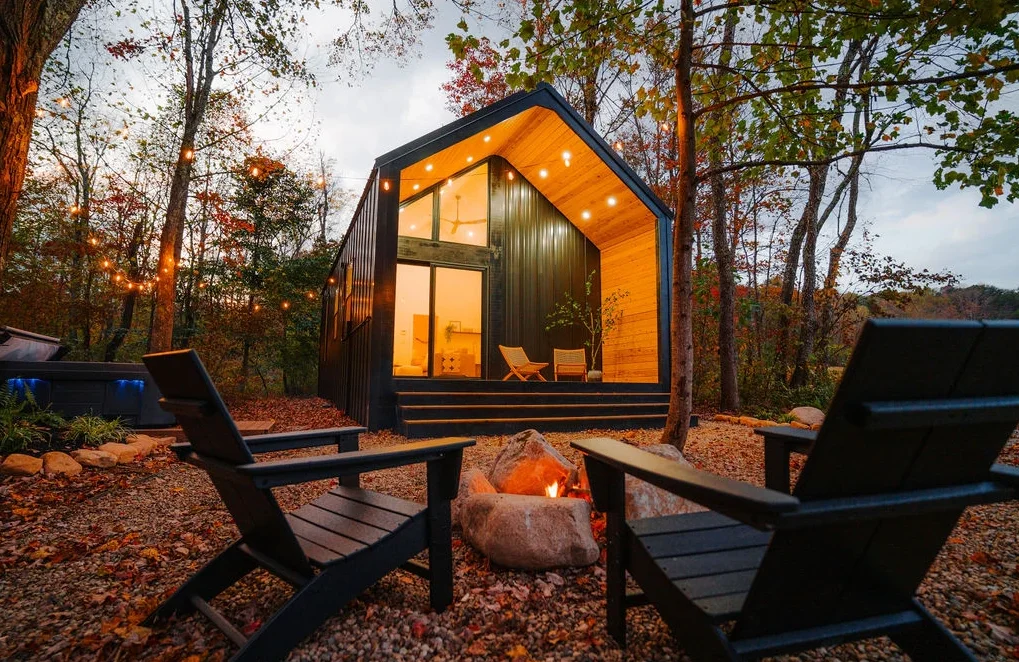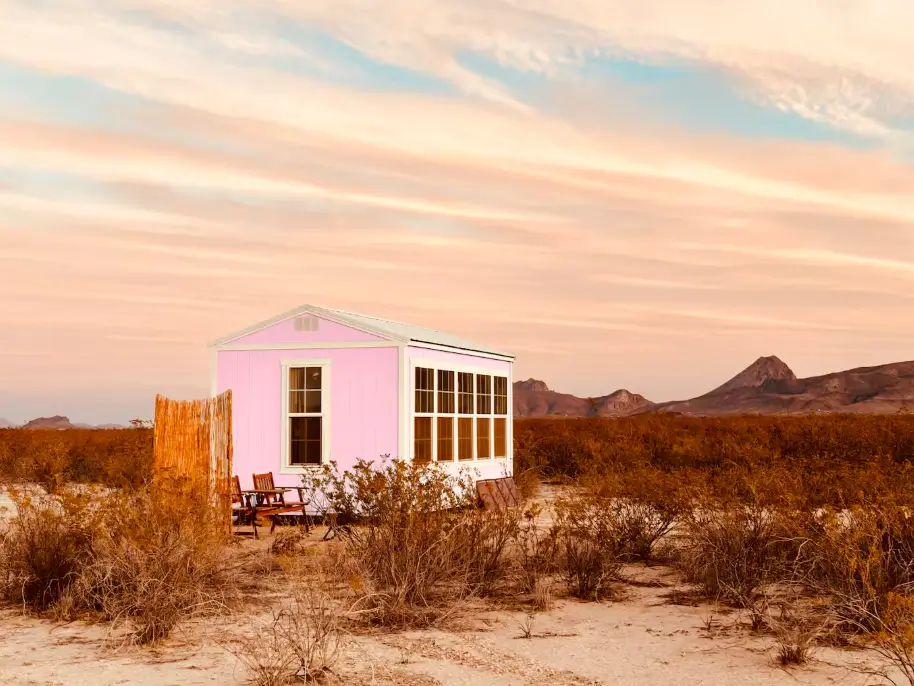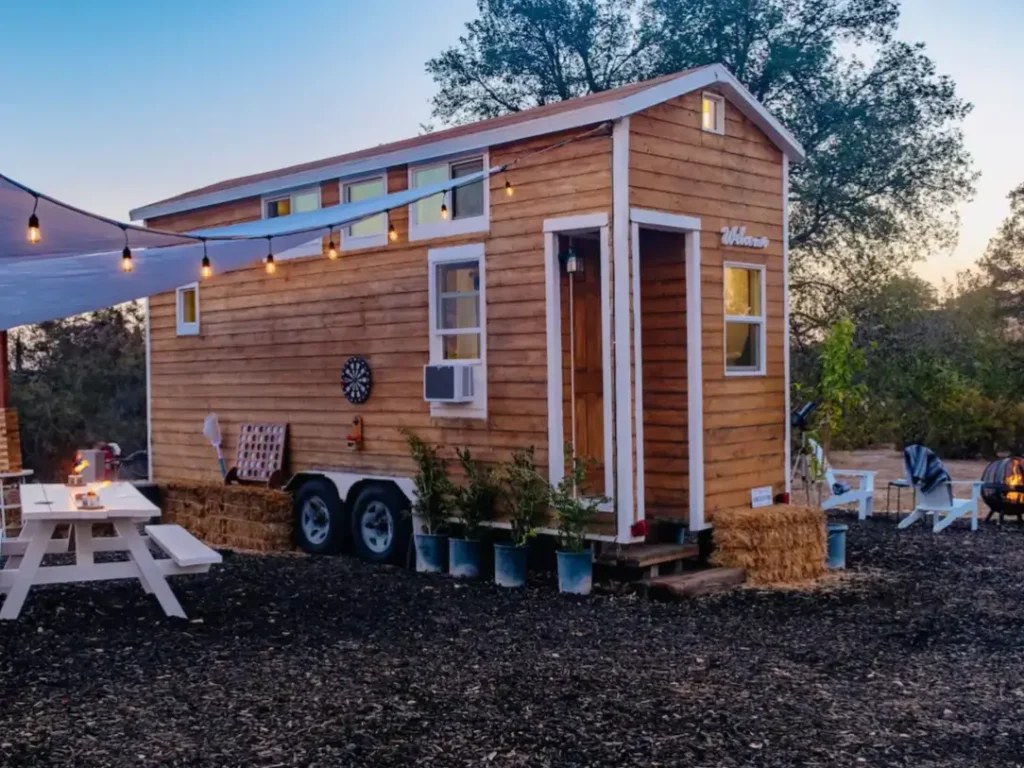
A tiny house shell offers a unique and increasingly popular path to homeownership, representing the perfect middle ground between building from scratch and buying a turnkey home. This guide is for the hands-on dreamer—the person who wants a truly custom home without the overwhelming task of raising the walls and roof themselves. A shell provides the sturdy, weathertight structure, leaving you with the most exciting part: a blank canvas for your creative vision.
For the aspiring tiny dweller, choosing a tiny house shell is the sweet spot where affordability meets personalization. It hands you the creative keys to design an interior that is entirely your own, ensuring every square inch fits your lifestyle. This comprehensive guide to Tiny House Shells will walk you through everything from costs and financing to navigating regulations, empowering you to start your build with confidence.
Is a Tiny House Shell the Right Choice for You?
Before diving in, it’s important to determine if this path aligns with your skills, budget, and timeline. A shell isn’t for everyone, but it’s a perfect fit for a specific type of builder.
A tiny house shell is likely a great choice if:
- You relish the idea of weekend projects and have the basic DIY skills (or a strong desire to learn them) needed for interior work.
- You want complete control over your interior layout and design, creating a truly custom tiny home.
- Your budget is a primary concern, and you’re willing to trade your labor (“sweat equity”) for significant cost savings on your DIY tiny house project.
- You have a secure place to complete the interior work over several months.
You might want to reconsider if:
- The thought of wiring an outlet or fitting insulation sounds more like a chore than an exciting challenge.
- You need to move into a finished home on a very tight deadline.
- You prefer a hands-off process where a builder handles everything from start to finish.
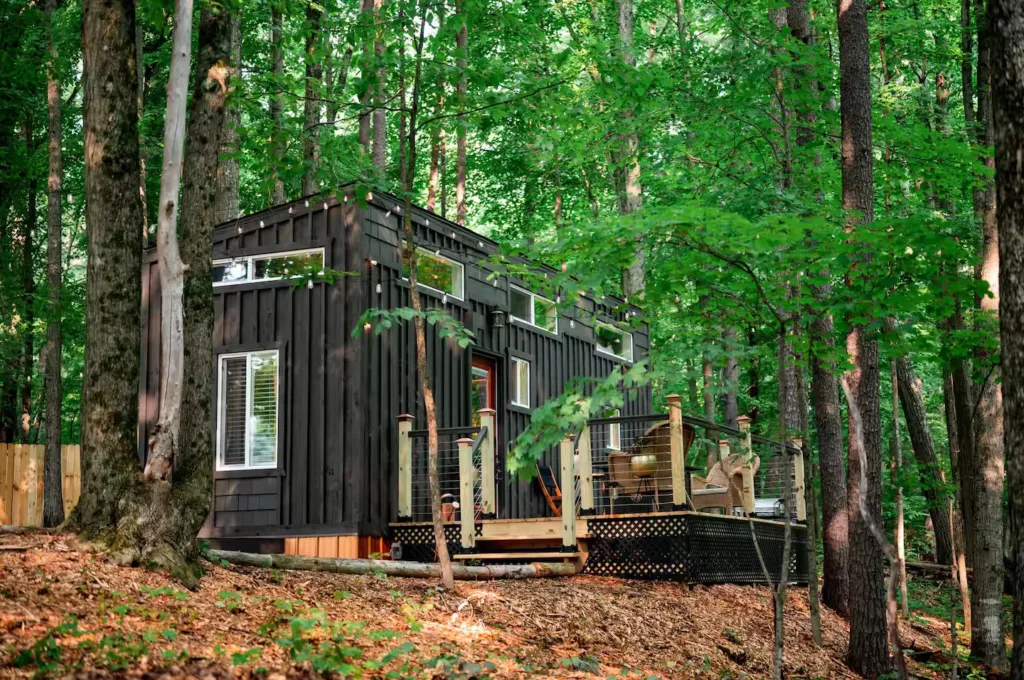
What Exactly Is a Tiny House Shell?
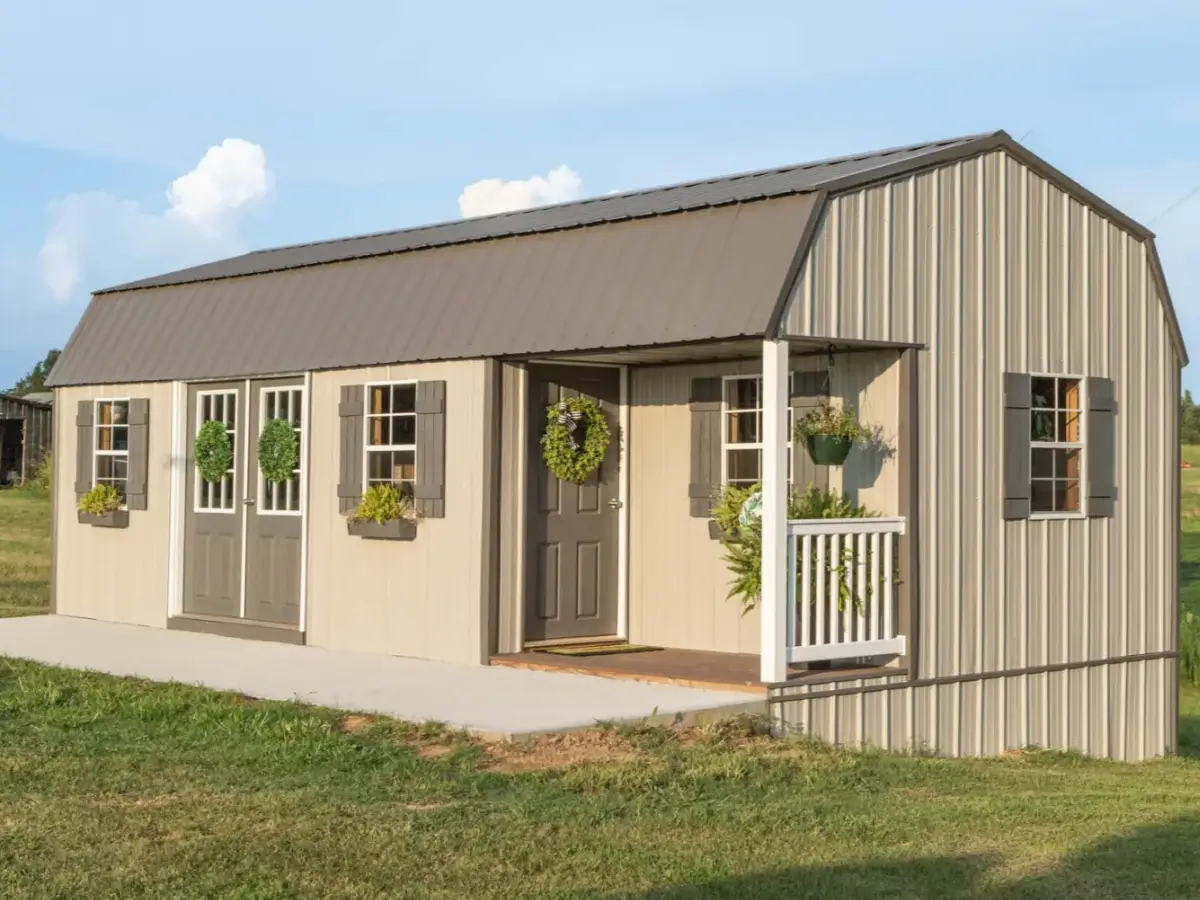
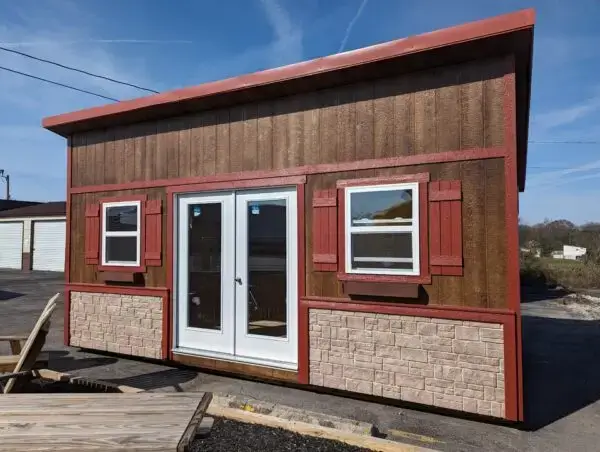
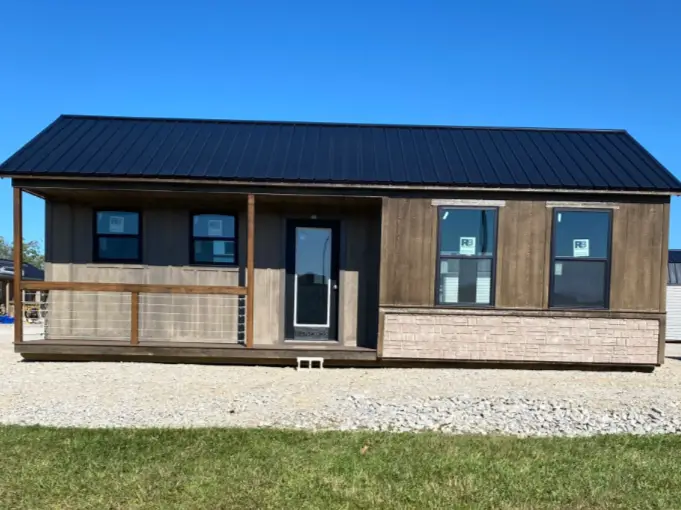
Think of a tiny home shell as the sturdy, protective cocoon for your future home. It is a prefabricated structure that includes the essential exterior elements—the foundation or trailer, framing, sheathing, siding, roofing, and installed windows and doors. The interior, however, is a blank slate, left completely unfinished for you to complete.
This approach allows you to take control of the layout, materials, and budget for the most personal parts of your home while leaving the complex, structural work to experienced builders.
Understanding the Different Levels of Completion
Not all shells are created equal. They are typically sold at different stages of completion, which directly impacts the price and the amount of work you’ll need to do.
1. Weathertight Shell (The Basic)
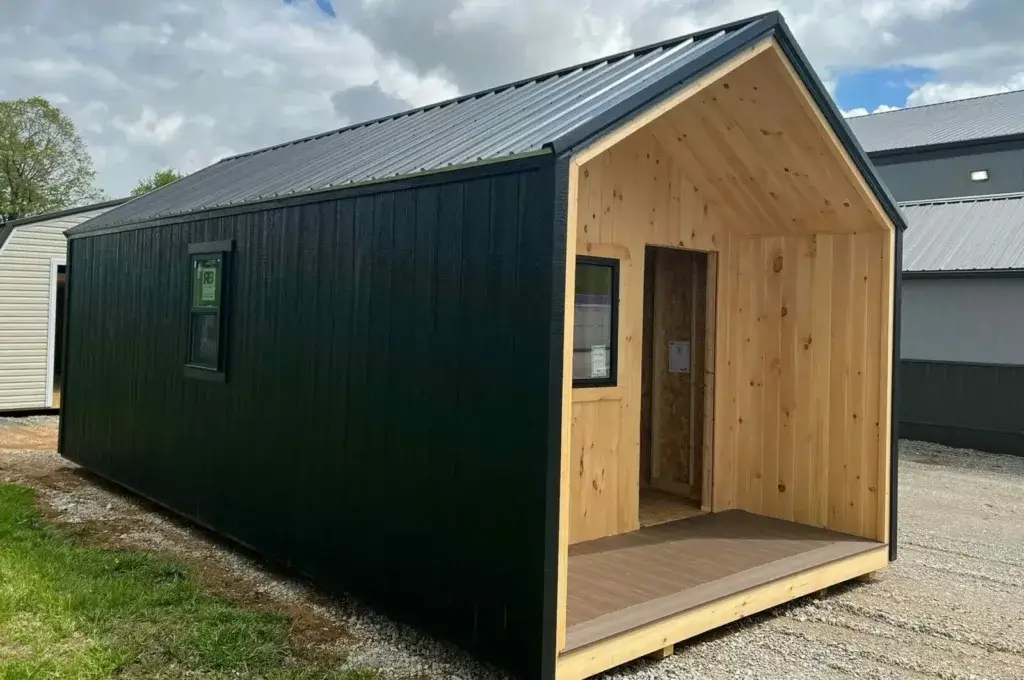
This is the most common type of shell. It’s fully protected from the elements but is completely raw inside.
- What You Get: Foundation/trailer, framed walls, roof, siding, and installed windows and external doors.
- What You’ll Need to Do: Everything on the interior. This includes the entire tiny house shell finish-out: framing interior walls, insulation, electrical wiring, plumbing, flooring, drywall or wall paneling, cabinetry, and all fixtures.
- Best for: The experienced DIYer or those on a strict budget who have skilled friends.
2. Partially Finished Shell (The Head Start)
This option bridges the gap, handling some of the more technical interior tasks for you.
- What You Get: Everything in a weathertight shell, plus some combination of interior wall framing, insulation, and rough-ins for electrical and plumbing systems.
- What You’ll Need to Do: The finishing work. This is a more manageable DIY project, as you’ll be running wires to outlets, connecting plumbing fixtures, installing flooring, painting, and building or installing cabinets.
- Best for: First-time builders who want to avoid the complexities of plumbing and electrical systems.
Our Take: For first-time builders, a partially finished shell with electrical and plumbing rough-ins can be a wise investment. It removes the most technical (and potentially hazardous) jobs from your to-do list, letting you focus on the finishing touches.
Anatomy of a Tiny House Shell: Key Components
Understanding the anatomy of a shell helps you ask the right questions when buying.
- Foundation: This is either a permanent foundation (like a concrete slab) or, more commonly, a custom-built trailer. For a tiny house on wheels (THOW), ensure the trailer is certified by the RVIA (RV Industry Association) or a similar body and has a sufficient Gross Vehicle Weight Rating (GVWR) to handle the finished home’s total weight; underestimating your final weight is one of the most common and costly mistakes a DIY builder can make. Always choose a trailer that can handle significantly more weight than your initial estimate.
- Framing: The home’s skeleton is typically built with traditional wood studs or light-gauge steel.
- A wood frame tiny house shell is familiar, easy to work with, and a great natural insulator.
- A steel frame tiny house shell is lighter (saving weight on a trailer), perfectly straight, and impervious to rot and pests, but can be more expensive.
- Siding: This is the exterior cladding that provides the first line of defense against weather. Popular choices include durable metal, classic wood (like cedar or pine), and low-maintenance vinyl or composite siding.
- Roofing: Standing-seam metal roofs are a favorite in the tiny house community for their longevity, durability, and ability to shed water and snow effectively.
- Windows and Doors: These are critical for light, ventilation, and security. Double-pane, energy-efficient windows are a non-negotiable investment to help regulate the interior temperature and reduce energy costs.
Pro Tip: Don’t Forget Egress. When planning your layout, especially a sleeping loft, ensure at least one window meets the legal requirements for an emergency exit (egress). This is a critical safety detail that is often overlooked in DIY builds.
Where to Buy a Tiny House Shell
Your search for a shell can take you down a few different avenues, each with its own pros and cons.
1. Tiny House Builders
The most direct route. Many established tiny house companies (like Mustard Seed Tiny Homes, Modern Tiny Living, and Jamaica Cottage Shop) offer shells as a standard product. They have the experience to build a structure specifically designed for tiny living.
2. DIY Shell Kits
For the truly hands-on builder. Companies like 84 Lumber and Mighty Small Homes offer pre-cut, panelized kits (including SIPs, or Structural Insulated Panels) that you assemble yourself. This can be a cost-effective option if you have the time and skills.
3. Shed and Prefab Manufacturers

A creative and often budget-friendly option is a shed-to-house conversion. Companies like Esh’s Utility Buildings often allow for customizations.
- Pro Tip: This is a viable path, but be diligent. Ensure the shed’s framing is robust enough for a full-time dwelling. Request an upgrade from standard 24-inch on-center framing to 16-inch on-center for greater strength and easier insulation.
4. Repurposed Structures
The adventurous route. Building a shell on a used flatbed trailer or converting a shipping container can be done, but it requires significant research and skill to ensure a safe and durable foundation.
Decoding the Costs: A Realistic Budget Guide
The price tag on the shell is only the beginning. A realistic budget is crucial for a successful project.
Estimated Shell Costs (2025)
- Basic Weathertight Shell: $15,000 – $30,000
- Partially Finished Shell: $25,000 – $45,000
- Nearly Finished Shell: $40,000 – $65,000+
Beyond the Sticker Price: The Real Cost to Finish a Tiny House Shell
For a weathertight shell, a good rule of thumb is to budget at least the same amount as the shell’s cost for the interior finishing.
- Interior Finishing: This is the largest part of your finish-out budget and includes insulation, plumbing, electrical, flooring, drywall, paint, cabinetry, and countertops, which can easily add $15,000-$40,000+.
- Appliances & Fixtures: Refrigerator, stove, water heater, toilet, shower, and sinks can add another $3,000-$10,000.
- Utilities: Hooking up to water, sewer/septic, and electricity has associated costs, whether you’re connecting to a grid or setting up an off-grid system (solar, composting toilet).
- Permits and Inspections: These fees vary dramatically by location but are a non-negotiable part of the process.
- Land: Whether you buy land or rent a spot, this is a major ongoing expense.
- Tools & Transportation: Don’t forget the cost of moving the shell and the tools required to finish it.
- Contingency Fund (10-15%): No project goes exactly as planned. Whether it’s a tool breaking, a measurement mistake, or a materials price increase, having an extra 10-15% of your total estimated budget set aside as a contingency fund is the difference between a stressful build and a successful one.
How to Pay for Your Shell: Financing Options
Financing a shell can be tricky as it’s not a traditional home.
- Personal Loans: This is the most common method. Lenders like LightStream and SoFi are popular in the tiny home community. This is the most common route, as traditional mortgage lenders typically do not finance unfinished structures or movable properties.
- Builder Financing: Some larger tiny house builders offer in-house financing options.
- RV Loans: If your shell is on an RVIA-certified trailer, you may qualify for an RV loan, which often has better rates than a personal loan.
- Cash/Savings: The most straightforward option, avoiding interest and debt.
Navigating Regulations and Zoning: A Crucial First Step
Before you fall in love with a shell, you must understand your local laws. This is the single most important step to prevent a costly mistake.
- Zoning Codes: Contact your local planning and building department. Ask them directly: “Where can I legally park my tiny house on wheels in this county/city?” and “Can it be used as a primary residence?”
- Building Codes: Find out if your tiny house needs to comply with local building codes. If it’s on wheels, it may need to be certified as an RV to be placed in certain parks.
- Know the Difference: Be sure to ask officials about both zoning regulations (which dictate where a tiny house can be placed) and building codes (which dictate how it must be constructed for safety).
- Start the Conversation Early: Approaching officials with a clear plan and a willingness to comply will make the process much smoother.
Avoiding Common Pitfalls: Top 3 Mistakes to Sidestep
- Underestimating the “Finish-Out” Time & Cost: The shell is the fast part. Many builders are surprised that finishing the interior can take 2-3 times longer than it took to get the shell. Budget your time and money accordingly. Planning your layout with inspiration from small kitchen ideas and clever storage solutions for tiny spaces can help you finalize your design and budget more accurately.
- Ignoring Local Regulations Until It’s Too Late: The single biggest mistake is buying a shell before you have a legal place to put it and finish it. Get written approval from your local planning department first.
- Forgetting About Utilities & Hookups: How will you get water, power, and internet to the build site? How will you handle sewage? Solving these logistical challenges early is crucial for a smooth project.
Frequently Asked Questions
1. What is the main difference between a tiny house shell and a kit?
A shell is a pre-assembled, structurally complete exterior. A kit provides all the pre-cut materials for you to assemble the shell yourself.
2. How much does a tiny house shell cost?
The price of a tiny house shell varies. Basic, weathertight shells typically start around $15,000 and can go up to $65,000+ for larger, partially finished models. The final finished tiny home cost is often double the shell price.
3. Is buying a tiny house shell cheaper than a finished one?
Initially, yes. The final cost depends on how much of the interior work you do yourself versus hiring professionals, and the quality of the materials you choose. It offers the potential to be significantly cheaper, making it a popular route for an affordable tiny house.
4. How long does it take to finish a tiny house from a shell?
This varies widely based on your skill level and available time. For someone working weekends, finishing a tiny house shell could take anywhere from 3 to 12 months.
5. Can I get insurance for a tiny house shell?
Insuring a shell itself during the build process is often done through a builder’s risk policy. Once completed, if your THOW is RVIA-certified, you can typically get RV insurance. For permanent tiny homes, you’ll need to speak with an insurance agent about a specialty homeowner’s policy. Always discuss insurance options before you buy.
6. Do tiny house shells hold their value?
The resale value depends heavily on the quality of the interior finish. A professionally built shell provides a great foundation, but a poorly executed DIY interior can lower the value. A well-built, beautifully finished tiny home can hold its value well, especially in a popular market, but it’s best viewed as an investment in lifestyle rather than a traditional real estate asset.
Final Thoughts on Starting Your Build
A tiny house shell is more than just a structure; it’s an opportunity. It’s a chance to build your home with your own hands, to make every inch of your space a reflection of your life and values. By starting with a solid, professional foundation, you can focus your energy on the creative journey of turning a blank canvas into a place you are proud to call home. This tiny house build journey, starting with a shell, is one of the most personal and empowering ways to embrace minimalist living.
Last Updated: July 2, 2025 5:39 PM