Skip to content
Built-in shelves are a charming and practical way to add storage and style to any room. They can display your favorite books, showcase treasured mementos, or even house your TV and electronics. But sometimes, what was once perfect might not fit your needs anymore. Maybe you’re updating your decor, your storage needs have changed, or you just want a more open feel in your space.
If you’re thinking about removing a built-in shelf, you might feel a little hesitant. It seems like a big project, right? Well, here’s the good news: removing a built-in shelf is totally doable, even if you’re not a DIY pro. With the right tools, a little patience, and this step-by-step guide on how to remove a built-in shelf, you’ll be surprised at how easily you can transform your room and create the look you want.
So whether you’re a homeowner looking to refresh your space or a renter wanting to make some temporary changes, we’ll show you how to safely and effectively remove that built-in shelf and create the room of your dreams.
Getting to Know Your Shelf
Before we dive into the removal process, let’s take a quick look at the types of built-in shelves you might encounter:
- Floating Shelves: These sleek shelves look like they’re magically attached to the wall, but they’re usually held up by hidden brackets or rods.
- Bookcase-Style Shelves: These are more traditional and often have visible supports on the sides or underneath.
- Custom Built-Ins: These can vary widely, from simple shelves to elaborate cabinets, and they might be attached in unique ways.
No matter what type of shelf you have, the next step is to find the fasteners that are holding it to the wall. Here’s what to look for:
- Screws or Nails: These are the most common fasteners. Check the front, sides, and underside of the shelf for screw heads or nail heads. Sometimes they’re hidden under wood filler or paint, but you can often spot them if you look closely.
- Brackets: Some shelves are supported by metal brackets attached to the wall. Look for these on the underside or back of the shelf.
- Hidden Fasteners: Floating shelves and custom built-ins might have hidden fasteners, such as rods or special brackets. You might need to remove part of the shelf to access these.
Tip: If you can’t find any visible fasteners, try gently pulling the shelf away from the wall to see if you can spot any hidden attachments. If you’re still unsure, don’t worry! We’ll cover some extra tips later on for dealing with tricky shelves.
Gathering Your Gear: Tools and Materials
Now that you have a better idea of what you’re working with, let’s gather the tools and materials you’ll need for the job. Don’t worry, most of these items are probably already in your toolbox or easy to find at your local hardware store.
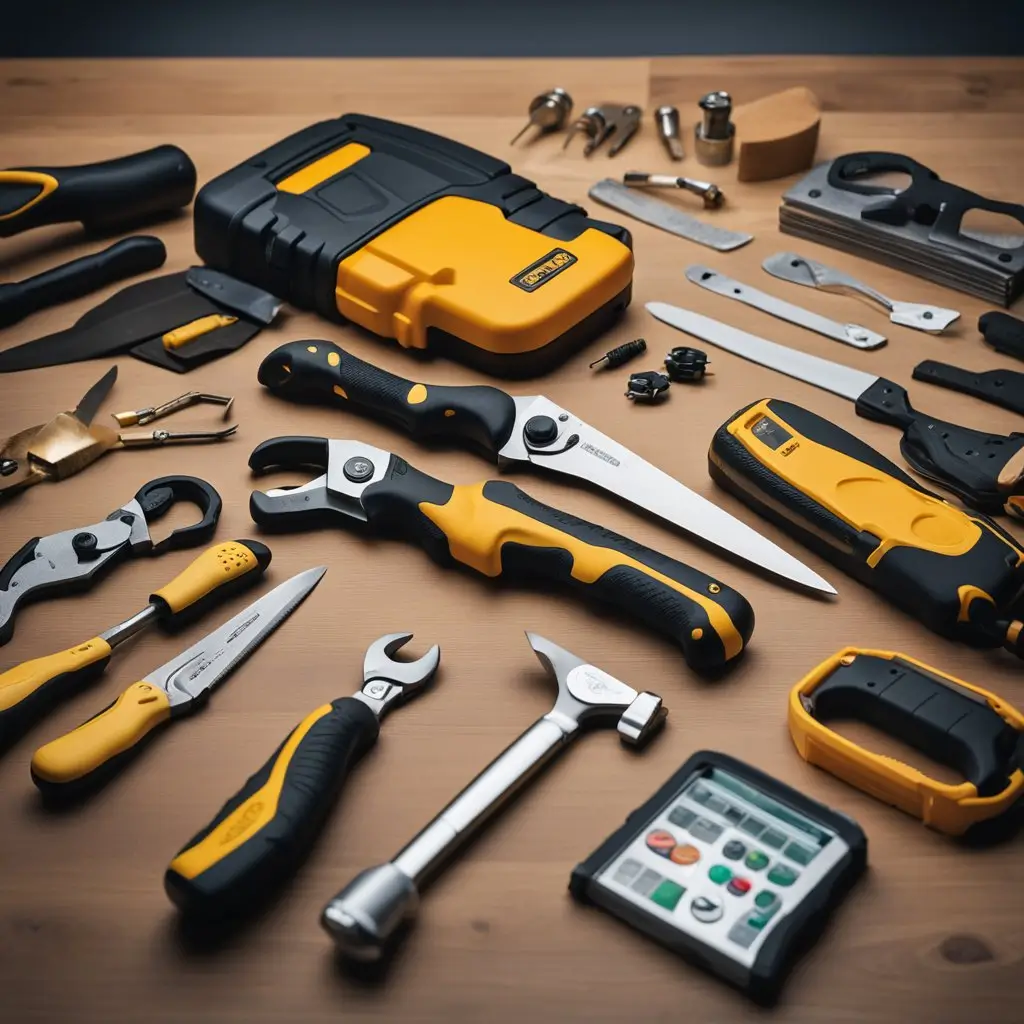
Must-Haves:
- Screwdriver: You’ll likely need a few different types of screwdrivers (flathead and Phillips) to remove screws.
- Pry bar (small): This handy tool helps you gently pry the shelf away from the wall.
- Hammer: A hammer can be helpful for tapping the pry bar or removing nails.
- Utility knife: This sharp knife is perfect for cutting through any caulk or sealant around the shelf.
- Putty knife: You’ll use this to apply wood filler to any holes you need to patch up later.
Nice-to-Haves (but Not Essential):
- Stud finder: This handy tool helps you locate the studs in your wall, which can be helpful if your shelf is attached directly to them.
- Reciprocating saw: If your shelf is truly built into the wall, you might need this saw to carefully cut through any supports. (If you’re not comfortable using power tools, consider asking a friend or professional for help with this step.)
- Safety glasses: Protect your eyes from dust and debris.
- Gloves: Keep your hands safe and clean.
Other Materials:
- Wood filler: This will fill any holes left behind by screws or nails.
- Sandpaper: Smooth out the wood filler for a seamless finish.
- Paint (optional): If you need to touch up any paint after removing the shelf.
With these tools and materials in hand, you’re well on your way to removing that built-in shelf and transforming your space!
Step-by-Step Removal Guide
Alright, let’s get down to business! Here’s a step-by-step guide to help you safely remove that built-in shelf:
- Clear the Shelf: Start by emptying the shelf completely. Remove all items, books, decorations, and any trim pieces that might be attached.
- Locate and Remove Fasteners: Remember those screws, nails, or brackets we talked about? Now’s the time to find and remove them. If you see any screws or nails, carefully unscrew or pull them out. If you have brackets, use your screwdriver or pry bar to loosen or remove them.
- Gentle Prying: Once the fasteners are gone, use your pry bar to gently loosen the shelf from the wall. Start at one corner and slowly work your way along the length of the shelf, applying gentle pressure. If you encounter any resistance, it might be due to caulk or sealant. Use your utility knife to carefully cut through it.
- Dealing with Stubborn Shelves (Optional): If your shelf is super stubborn and doesn’t want to budge, it might be built directly into the wall’s structure. In this case, you might need a reciprocating saw to carefully cut through any supports. Important: If you’re not familiar with using power tools, or if you’re unsure about the structure of your wall, it’s best to call in a professional for help. Safety first!
- Patching and Finishing: Once the shelf is removed, you’ll probably have some holes in your wall. Don’t worry, this is an easy fix! Use wood filler to fill in the holes, then sand it smooth once it’s dry. If needed, touch up the area with matching paint.
And that’s it! You’ve successfully removed your built-in shelf. Give yourself a pat on the back and enjoy your newly open and refreshed space!
Safety First: Tips for a Smooth Removal
Safety is key when tackling any DIY project, and removing a built-in shelf is no exception. Here are a few tips to keep in mind:
- Take it Slow and Steady: Don’t rush the process. Work slowly and carefully to avoid accidentally damaging your wall. Remember, you can always take a break if you need to.
- Teamwork Makes the Dream Work: If possible, grab a friend or family member to help. They can lend a hand with heavy lifting, holding the shelf steady while you work, or just offering moral support.
- Gear Up: Protect your eyes and hands by wearing safety glasses and gloves, especially when using tools like the pry bar, saw, or hammer.
- Know Your Limits: If your shelf seems particularly heavy, complex, or if you’re unsure about any part of the process, don’t hesitate to ask for help. A friend with more experience or a professional can make sure the job gets done safely and correctly.